+86 15633683072
You've bought the machine. It's on your shop floor. Now what?
Installing an automatic welding machine for pipes isn't just plugging it in. Get the setup wrong, and you'll spend weeks chasing defects. Get it right, and your pipe welding automation becomes your most reliable tool.
We've been building automatic welding machine for pipes systems since 1994. We've helped pipe welding companies in over 50 countries get machines running—and we've seen the same setup mistakes repeat. Here's how to do it right, from someone who's been doing it for three decades.
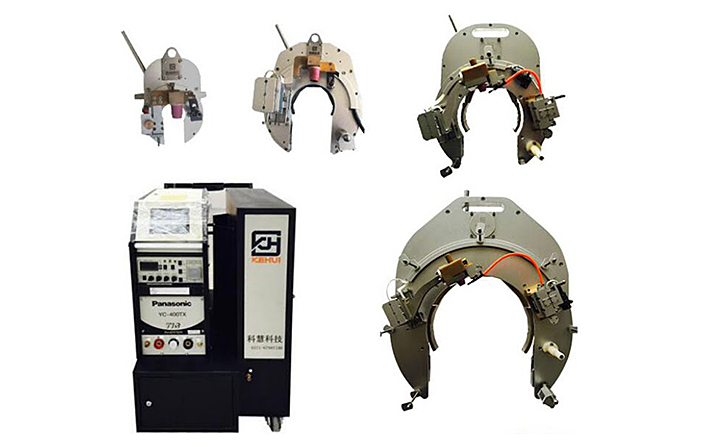
Before unboxing, gather these essentials:
Stable power. Most automatic welding machine for pipes systems need 220V or 380V three-phase. Unstable power is the #1 cause of erratic arc behavior.
Shielding gas. Argon (or argon‑hydrogen for stainless) with a regulator and flowmeter.
Consumables. Tungsten electrodes, collets, nozzles, gas lenses—have extras.
Pipe prep tools. Beveling machine, deburring tool, isopropyl alcohol for cleaning.
The manual. Yes, keep it nearby.
Pro tip: Choose a dry, well‑ventilated location away from dust and spatter. Humidity and dirt affect performance.
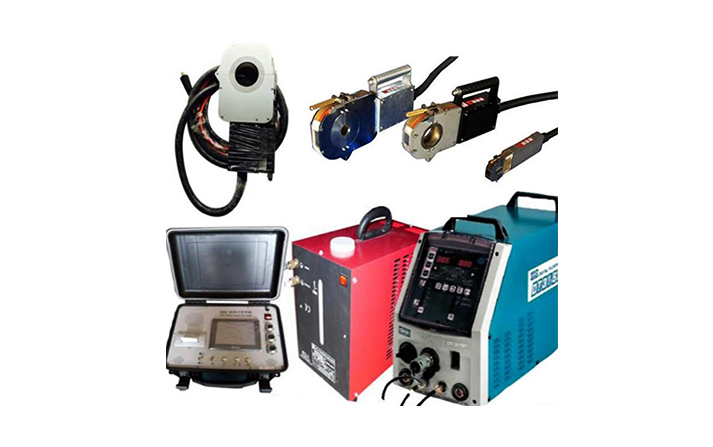
Open the crate carefully. Check everything against the packing list:
Power supply (main control unit)
Welding head(s) — open, closed, or both
Cables (power, control, gas)
Consumables starter kit
Documentation
Inspect for damage. Look for dents, cracked screens, bent connectors. Photograph any issues immediately.
Position the power supply where:
Cables reach without stretching
Cooling vents have good airflow
It's protected from spatter and moisture
The operator can see the screen clearly
Level the machine using its adjustable feet. Poor grounding causes arc instability—connect to a proper earth ground.
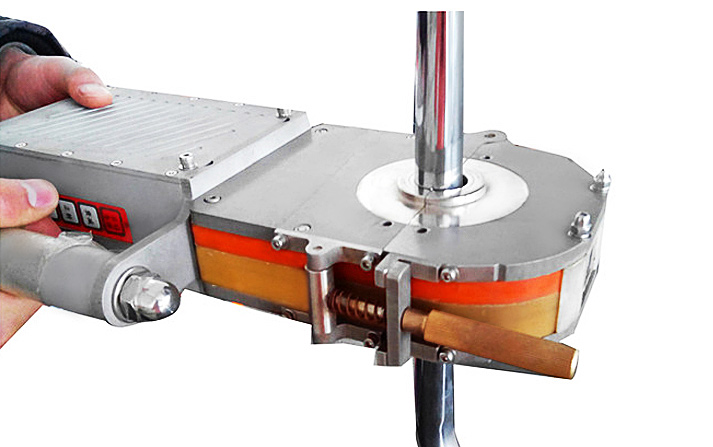
This is where many first‑time users get stuck.
Welding head connections:
Closed head (KHGC): Connect the main control cable and gas hose. Check that seals are clean—a compromised seal ruins purge coverage.
Open head (KHGK): Connect the control cable and gas hose. Verify the track is clean and carriage moves freely.
Gas:
Connect argon cylinder to the power supply's gas inlet.
Set regulator to recommended flow (15‑25 CFH for open head, 10‑15 CFH for closed head).
Purge the line briefly to remove dust or moisture.
Power:
Connect to mains and turn on. Screen should light up.
Check input voltage matches the machine's setting.
Common mistake: Forcing connectors. If a plug doesn't go in easily, check alignment—bent pins mean a dead machine.
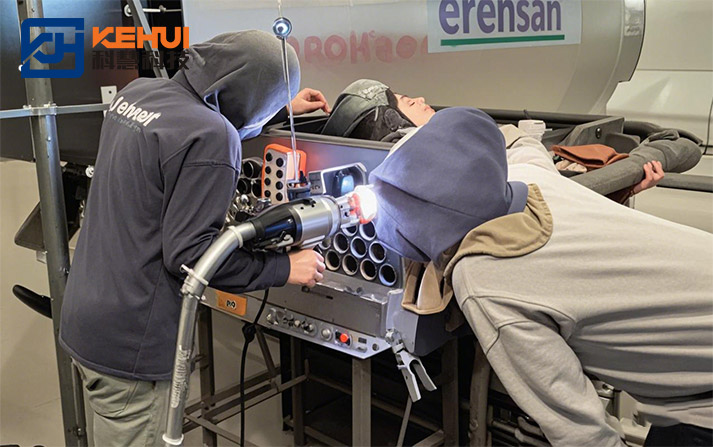
Tungsten:
Grind to a sharp point (DC welding) or balled end (AC aluminum).
Insert into collet with 3‑6mm stick‑out.
Tighten securely—a loose tungsten wanders.
Gas lens and nozzle:
Install gas lens for better coverage if available.
Screw on clean nozzle—no spatter, no debris.
Filler wire (if using):
Thread through wire feeder and guide tube.
Set wire feed speed per procedure.
Create or select a welding procedure:
Don't assume pre‑loaded programs work on your pipe. They were developed on someone else's material.
Input material, wall thickness, diameter.
Set amperage, travel speed, oscillation.
Run a test weld on scrap. Cut, inspect, adjust, repeat. Document working parameters as a named procedure.
Critical parameters:
Pre‑flow and post‑flow time
Start amperage (ramp‑up) and welding amperage
Travel speed
Oscillation width and frequency
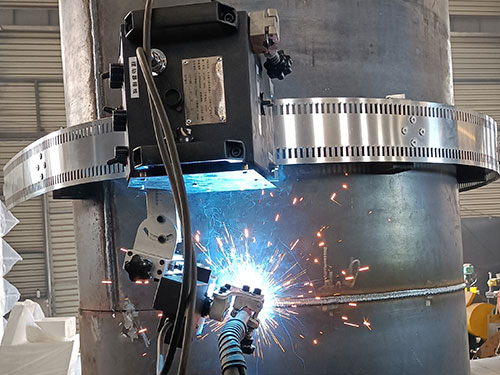
Poor alignment ruins even the best parameters.
Closed head (KHGC):
Open head, place over joint, close and clamp.
Center tungsten over the joint using the centering mechanism.
Purge chamber until oxygen drops below 50 ppm.
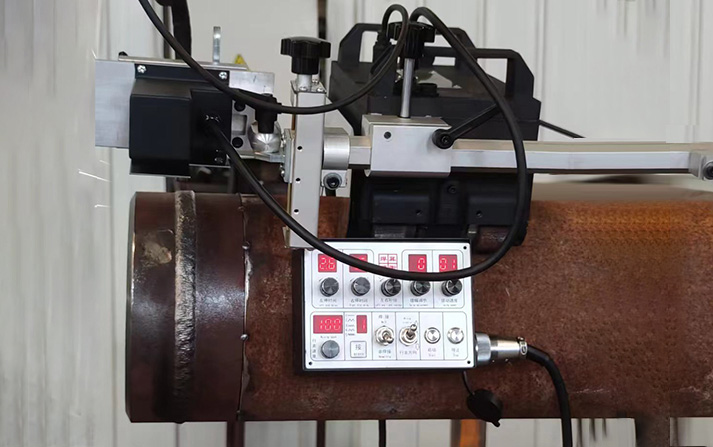
Open head (KHGK):
Place track around pipe, mount carriage.
Adjust torch height to 2‑3mm from pipe.
Center torch over the joint.
Tack weld larger diameter pipes before clamping to prevent gaps from thermal expansion.
Run a test weld on scrap identical to production pipe. Check:
Arc stability — steady or wandering?
Penetration — cut and inspect cross‑section. Is the root fully fused?
Appearance — silver or straw on stainless? Blue/grey means oxidation (purge issue).
Gas coverage — any spatter on nozzle?
Adjust and repeat until the test weld passes. This might take 3‑5 attempts. Don't rush to production until it's right.
Training is essential. The most expensive automatic welding machine for pipes is worthless if operators don't know how to use it. We include engineer‑led on‑site training with every machine—our engineer stays until your operators can run it independently.
We learned this the hard way decades ago. Shipped a machine with a manual. Customer never got it running. They never bought from us again. Now training isn't optional—it's part of the package.
| Step | Key Action | Common Mistake |
|---|---|---|
| 1. Unpack | Inspect for damage, verify all parts | Missing cables discovered weeks later |
| 2. Position | Level machine, check grounding | Poor grounding causes arc instability |
| 3. Connect | Plug cables, gas, power | Forcing connectors, bending pins |
| 4. Consumables | Install tungsten, collet, nozzle | Wrong stick‑out, loose collet |
| 5. Procedure | Set parameters, test on scrap | Using pre‑loaded programs without testing |
| 6. Align | Center torch over joint, purge (closed) | Skipping tack welds on large pipe |
| 7. Test | Run test weld, inspect, adjust | Rushing to production before test passes |
| Phase | Time |
|---|---|
| Unpack and position | 2‑3 hours |
| Connections | 2‑3 hours |
| Consumables and procedure setup | 2‑4 hours |
| Test welds and adjustments | 2‑6 hours |
| Operator training | 1‑3 days |
| Total | 2‑5 days |
The timeline varies. Don't rush. A well‑commissioned machine runs for years.
Physical installation takes 4‑6 hours. Full commissioning (including procedure setup, test welds, and operator training) takes 2‑5 days.
Yes. One trained operator can monitor and run a single machine. With experience, one operator can monitor multiple machines in a production environment.
After every shift, or more frequently in dirty environments. Check nozzle for spatter, collet for debris, gas ports for blockage.
Tungsten condition and stick‑out, collet tightness, gas flow, purge oxygen level (closed head, under 50 ppm), torch alignment, grounding, and correct stored procedure for that pipe size and material.
No. Installation requires physical presence. However, after installation, many systems support remote diagnostics and software updates.
Reputable manufacturers do. We include engineer‑led on‑site training with every automatic welding machine for pipes—our engineer travels to your facility and stays until your operators can run it independently.
Full commissioning typically takes 2‑5 days, depending on operator experience, joint complexity, and how quickly you qualify procedures on your material.
If you're looking for an automatic welding machine for pipes with comprehensive training and support, read our guide [Why Choose KEHUI Orbital Welding Machine].
Zhengzhou Kehui Technology Co., Ltd
Email: info@zzkehui.com





 Chinese
 English
 OA
OA Current location:
 Concrete Mixer Drum Robotic Welding Solutions
  Automobile Body Production Line Welding Fixtures
 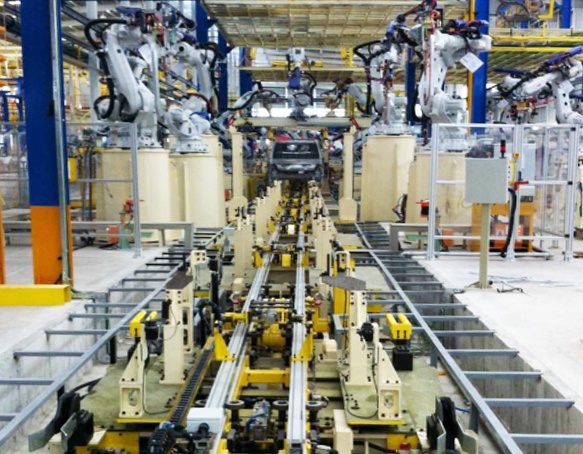 Automotive Body Welding Automated Manufacturing Solutions
 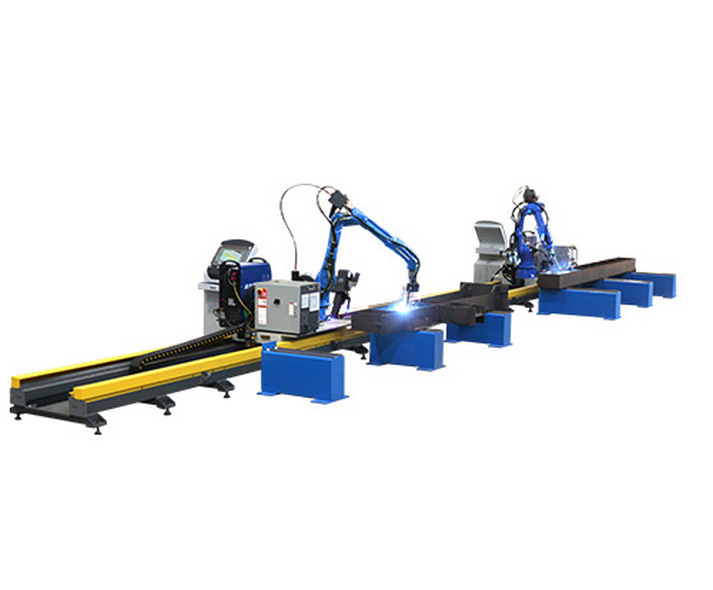 Free-Teaching Programming Welding Robot Cell For I Beam Welding
 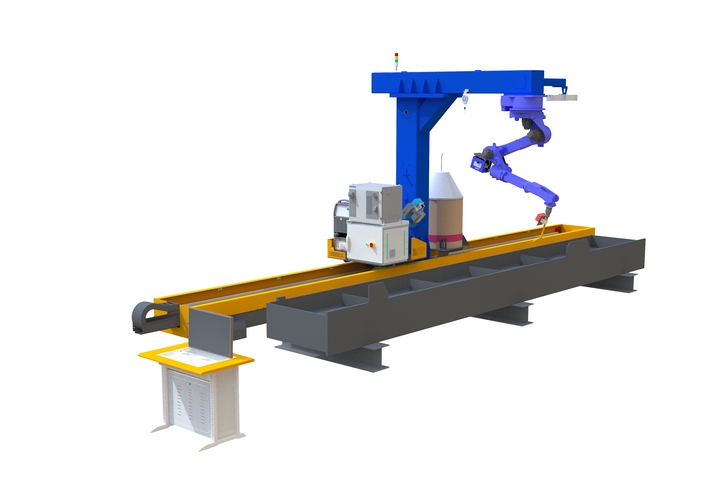 No Programming Required Robotic Welding Systems for H beam Welding Line