+86 15633683072
You can buy the most expensive orbital welding tools on the market. You can have the most advanced automatic orbital welder with all the bells and whistles. But if you don't maintain it, it will fail. And when an orbital welding head fails mid-project, the cost isn't just the repair—it's the downtime, the rework, the missed deadline, and the client who starts looking for a new supplier.
We've been building orbital welding tools since 1994. We've shipped to over fifty countries. And we've watched the same maintenance mistakes repeat across shops of every size. Here's what we've learned about keeping orbital welding tools running—from the shop floor, not the manual.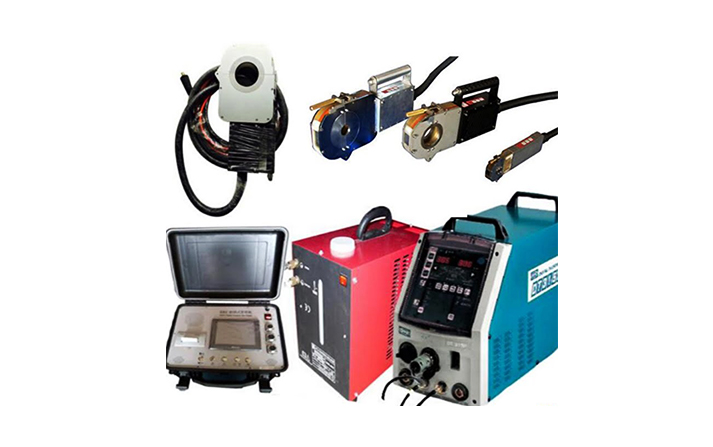
Most shops know they should maintain their orbital welding tools. They just don't do it consistently. The excuse is always the same: "We're too busy."
Here's what happens when you're too busy to clean your orbital welding head:
Contamination builds up in the welding chamber. Carbon dust and spatter accumulate on the rotor and clamping mechanism. The automatic orbital welder starts producing inconsistent welds. You chase the problem by adjusting parameters, but the real issue is mechanical.
Consumables wear out without being replaced. A worn tungsten electrode or a clogged nozzle doesn't fail dramatically—it fails gradually. The orbital welding head produces welds that are "good enough" until suddenly they're not. By then, you've wasted a shift of production.
Calibration drifts. The orbital welding power source starts delivering slightly different amperage than what the display shows. Your high purity orbital welding procedures that worked perfectly last week now produce oxidation on the root.
We had a customer who called us after six months of fighting porosity on their pharmaceutical lines. They'd replaced everything—the orbital welding supplies, the gas, even the operators. The problem was carbon dust buildup in the orbital welding head that had never been cleaned. A ten-minute cleaning procedure would have saved them weeks of frustration.
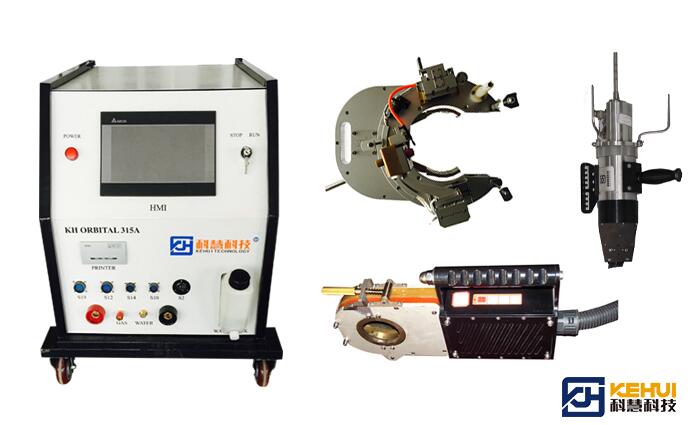
The best maintenance routine is the one that actually gets done. Here's what we recommend to every shop running orbital welding tools.
At the end of every shift—not once a week, not "when it looks dirty"—take five minutes to clean the orbital welding head.
For the rotor and chamber:
Turn off the orbital welding power source.
Rotate the rotor manually in quarter-turns.
Spray denatured alcohol on a lint-free cloth—never spray directly into the welding head. The propellant in aerosol cleaners can leave residue that contaminates high purity orbital welding applications.
Wipe down the rotor to remove carbon dust and spatter.
Wipe the inside of the welding chamber where carbon buildup accumulates.
For the clamping mechanism:
Remove collets and wipe them down with alcohol.
Check for any debris or spatter on the clamping surfaces.
Wipe the outside of the orbital welding head to prevent dirt from entering the mechanism.
For the orbital welding power source:
Give the power supply a quick wipe-down at the end of every day.
Keep the cooling vents clear of dust and debris.
This daily cleaning routine takes five minutes. It prevents 80% of the contamination problems that plague high purity orbital welding applications. And it's the single most effective thing you can do to extend the life of your orbital welding tools.
Once a week—Monday morning works best—run through these checks:
Gas delivery system: Inspect hoses and regulators for cracks or clogs. Use soapy water to check for minor leaks in connections—bubbles indicate escaping gas. Verify that gas pressure remains within operating ranges.
Cables and connectors: Check power cords, welding cables, and control lines for wear, breakage, or poor contact. If a cable shows signs of aging or a connector is loose, replace or tighten it immediately.
Cooling system: Check coolant levels and inspect for leaks. The orbital welding head needs proper cooling to maintain consistent performance.
Track and carriage: Inspect the rail system for dust, welding slag, or metal shavings that can affect smooth movement. Clean and lubricate as needed.
Every year, send your orbital welding power source in for calibration.
This isn't optional. The amperage and voltage readings on the display drift over time. What reads as 100 amps on the screen might actually be 95 amps at the arc. That 5% difference is enough to compromise high purity orbital welding procedures that were qualified to tight tolerances.
We recommend annual calibration from the manufacturer or an authorized service center. Don't try to calibrate it yourself unless you have the proper equipment and training. Orbital welding tools are complex systems. Attempting repairs or calibration without proper experience often causes more damage.
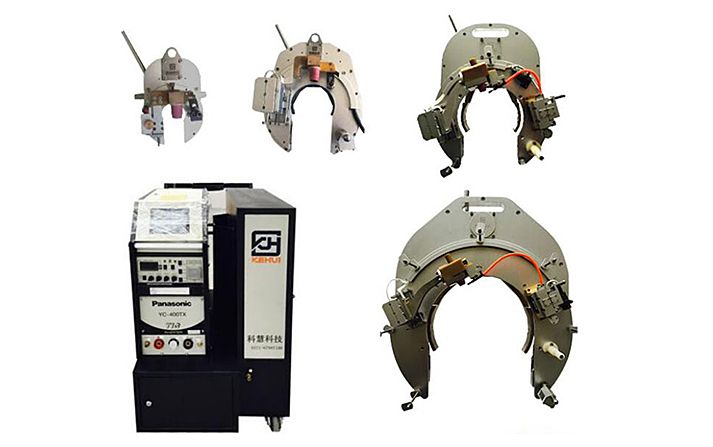
The most common mistake we see with orbital welding supplies is waiting until a consumable looks damaged before replacing it. By then, you've already compromised multiple welds.
For high purity orbital welding applications, don't wait until the tungsten looks bad. Replace it on a schedule—every 50-100 welds, depending on amperage.
Signs it's time to replace: Arc instability, wandering arc, fast burn-up, or any visible contamination on the tip.
Pro tip: Most modern automatic orbital welder controllers can track arc ignitions and remind you when the preset electrode change interval has been reached.
Inspect nozzles for spatter buildup that cleaning can't remove. A clogged nozzle affects gas coverage and weld quality.
Check collets for wear. A worn collet doesn't hold the tungsten securely, leading to arc wandering and inconsistent penetration.
Inspect O-rings and seals for cracks or loss of elasticity. These small components prevent gas leaks and maintain a stable environment for the weld. A failed seal on a closed-head orbital welding head destroys purge gas coverage.
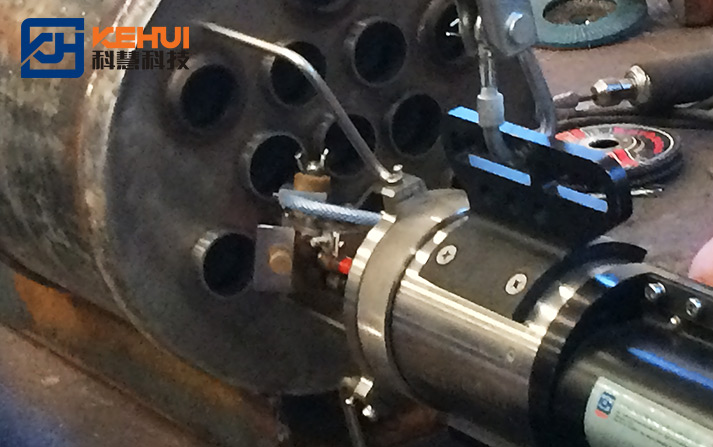
When your orbital welding tools start acting up, the machine usually tells you what's wrong—if you know how to read the signs.
Possible causes:
Poor connection between the orbital welding power source and the orbital welding head
Damaged tungsten electrode or incorrect tungsten geometry
Faulty ground connection
What to check:
Verify all cable connections are secure
Inspect and replace the tungsten if necessary
Check the ground clamp is properly attached to the workpiece
Possible causes:
Damaged or contaminated tungsten electrode
Insufficient gas flow
Loose collet not holding the tungsten securely
Poor contact in the welding cable
What to check:
Replace or regrind the tungsten
Verify gas flow rate is correct
Tighten the collet
Inspect cables for damage or loose connections
Possible causes:
Impure shielding gas
Insufficient gas flow
Contaminated welding area (oil, grease, or dirt on the pipe)
Leaking seals on the orbital welding head
What to check:
Verify gas purity—for high purity orbital welding applications, argon should be ≥99.995%
Increase gas flow if needed
Clean the pipe surface thoroughly with isopropyl alcohol before welding
Inspect and replace O-rings and seals
Possible causes:
Cooling system failure
Long-term high-load operation without adequate cooling
What to check:
Verify coolant level is sufficient
Check for blockages in the cooling system
Allow the orbital welding head to cool between heavy welding sessions
Different automatic orbital welder brands use different error codes, but common ones include:
Gas error – Check hoses, bottle pressure, and flow sensor
Coolant error – Check coolant level and circulation
Current fault – Check cables, connections, and the orbital welding power source
Speed abort – Check for mechanical blockage or jamming in the orbital welding head
Pro tip: The user manual for your orbital welding tools will have a complete list of error codes. Don't guess—look it up.
Not every problem can be fixed on the shop floor. Here's when to stop troubleshooting and call for help:
You've checked all the obvious causes (gas, tungsten, connections) and the problem persists
You see error codes that you can't resolve with the manual
The orbital welding head has mechanical damage (bent components, broken seals, stripped threads)
The orbital welding power source needs calibration or shows signs of internal failure
Don't attempt to open the orbital welding head or power supply for repairs unless you have proper training. Orbital welding tools are precision instruments. Repairs without proper experience often result in more damage.
Orbital welding tools are built to last. But they need care.
Clean daily – five minutes at the end of every shift
Check weekly – gas, cables, cooling, and tracks
Calibrate annually – send the orbital welding power source in for calibration
Replace consumables on a schedule – don't wait until they look bad
Know when to call for help – don't make a small problem worse
We've been building orbital welding tools since 1994. We've seen what happens when maintenance is skipped—and what happens when it's done right. The shops that take care of their orbital welding tools get consistent welds, fewer rejections, and equipment that runs for decades.
If you're running high purity orbital welding applications in semiconductor, pharmaceutical, or food processing, the stakes are even higher. One contaminated weld can ruin an entire batch. The maintenance routine isn't optional—it's essential.
And if you're not sure where to start, call us. We've helped shops in over fifty countries build maintenance programs that work. Because the best orbital welding tools are the ones that keep running when you need them.
Answer: Orbital welding tools should be cleaned after every shift. The orbital welding head rotor and chamber should be wiped down with denatured alcohol on a lint-free cloth to remove carbon dust and spatter. The clamping mechanism and collets should also be cleaned daily. A five-minute cleaning routine at the end of each shift prevents 80% of contamination problems.
Answer: The most common cause is contamination buildup—carbon dust, spatter, and debris accumulating inside the orbital welding head. This affects the rotor movement, gas coverage, and arc stability. Regular cleaning of the orbital welding head is the single most effective preventative maintenance step.
Answer: For high purity orbital welding applications, replace tungsten electrodes every 50-100 welds, depending on amperage. Don't wait until the tungsten looks damaged—by then, you've already compromised multiple welds. Modern automatic orbital welder controllers can track arc ignitions and remind you when replacement is due.
Answer: The amperage and voltage readings on the display drift over time. What reads as 100 amps might actually be 95 amps at the arc. That 5% difference can compromise high purity orbital welding procedures qualified to tight tolerances. Annual calibration ensures accurate output and consistent weld quality.
Answer: For high purity orbital welding applications—especially stainless steel or titanium—argon purity should be ≥99.995%. Impure gas introduces contaminants like moisture, oxygen, and hydrocarbons that cause porosity, discoloration, and reduced mechanical strength.
Answer: Signs include: arc instability or wandering, porosity in welds, inconsistent penetration, overheating of the orbital welding head, or error codes on the display. If you notice any of these, start with cleaning the orbital welding head and checking consumables before troubleshooting deeper issues.
Zhengzhou Kehui Technology Co., Ltd
Email: info@zzkehui.com





 Chinese
 English
 OA
OA Current location:
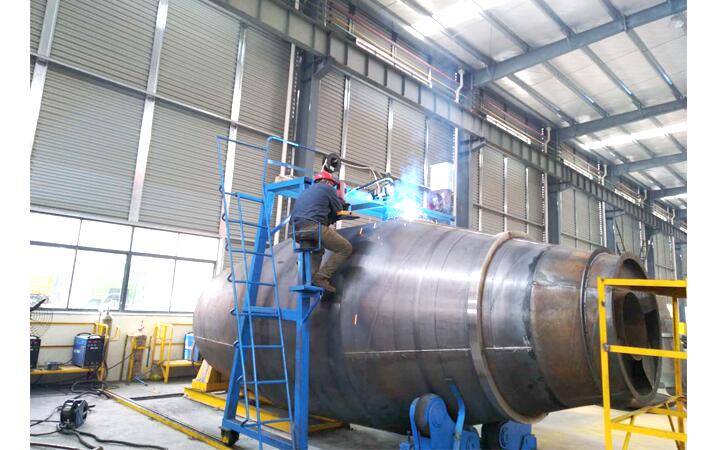 Concrete Mixer Drum Robotic Welding Solutions
 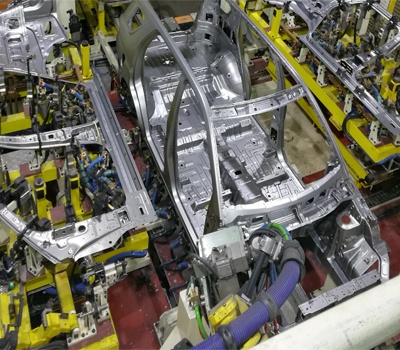 Automobile Body Production Line Welding Fixtures
 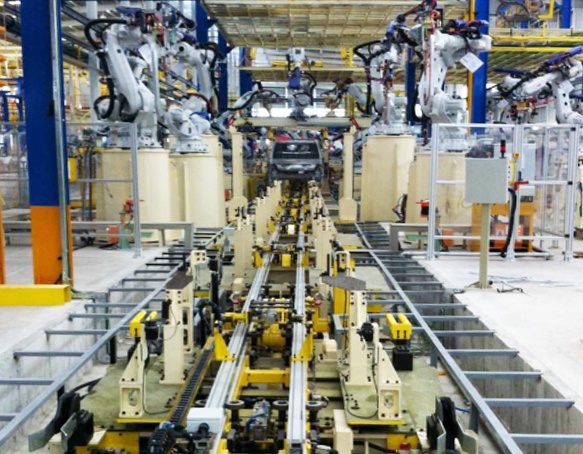 Automotive Body Welding Automated Manufacturing Solutions
 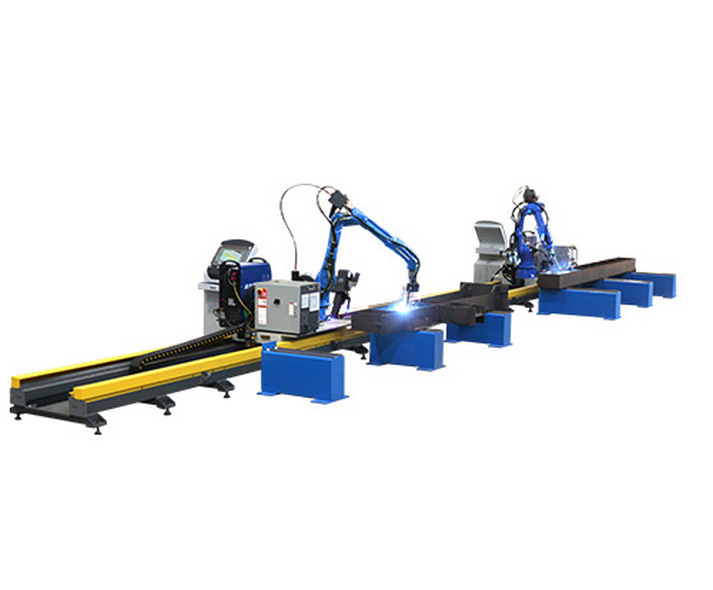 Free-Teaching Programming Welding Robot Cell For I Beam Welding
 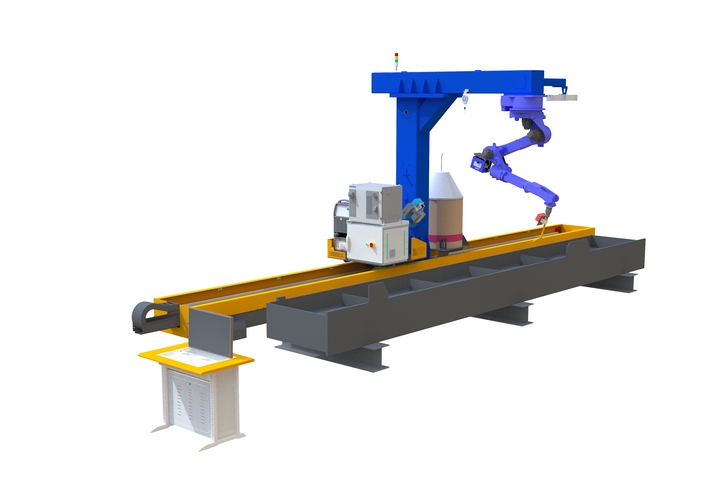 No Programming Required Robotic Welding Systems for H beam Welding Line